Peacedale's 200 Plus Year Old Garden Tool.
"How to" create your own
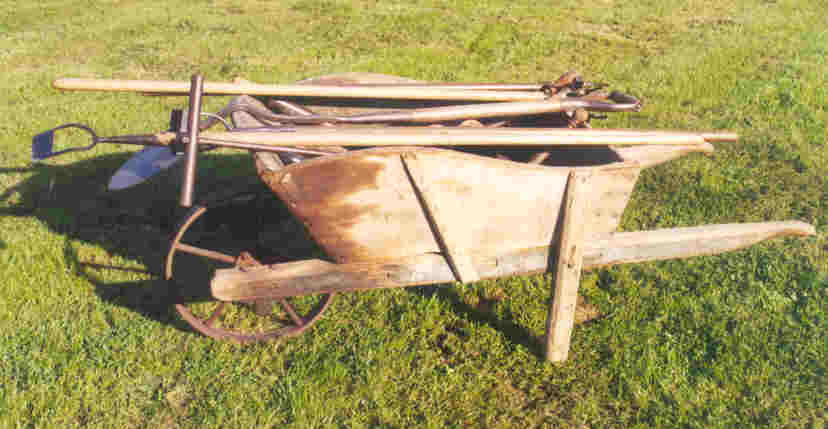
 Below are descriptions and illustrations that really bring me back to my
past. It also brings memories of falling upon different agricultural tools in
the old barns, crudely crafted, but very effective hand tools in
growing the crops at Peacedale in the previous 100s of years. These
hand tools go back before our country was founded and we are proud that we
used them and in some cases, modified them with some of the newer metals,
etc. One of these tools is described below and it works.
Below are descriptions and illustrations that really bring me back to my
past. It also brings memories of falling upon different agricultural tools in
the old barns, crudely crafted, but very effective hand tools in
growing the crops at Peacedale in the previous 100s of years. These
hand tools go back before our country was founded and we are proud that we
used them and in some cases, modified them with some of the newer metals,
etc. One of these tools is described below and it works.
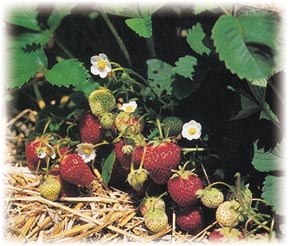
Peacedale Farms at one time grew as many as 30 acres of strawberries. The culture of planting strawberries and getting them to run and make daughter plants was not an easy chore. There was an intense cultivation process during the start of the first year. You didn't pick berries the first year. We actually had an army of kids that picked the blossoms off of the plants the first growing year to give the strength to the plant. Cultivation after planting in the early spring began with very delicate tools and one of them is illustrated below. We had about 6 of them with a man on each one, as it took that many in the field to cover this many acres. We had tractors with various cultivation devices, but hand cultivation was critical and it had to be done in a way that would not damage the plants, "Root Pruning". One of the horrors of the farm and garden is not providing enough oxygen to the plant, but another horror is in the process of damaging the root structure with the wrong cultivating tool.
 You
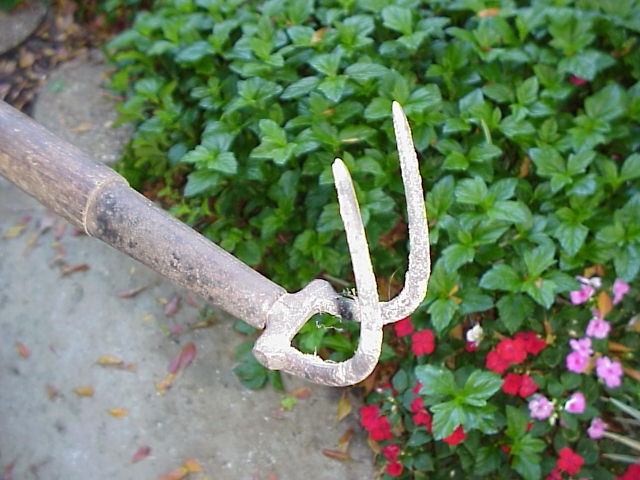
will note there are two ends to the tool we use and basically copied from some
of the agricultural antiques we were blessed with. We start with a simple garden
hook usually a 4 prong affair and using something like this in a garden or a
farm operation would be lethal. These hooks are usually used to break up ground
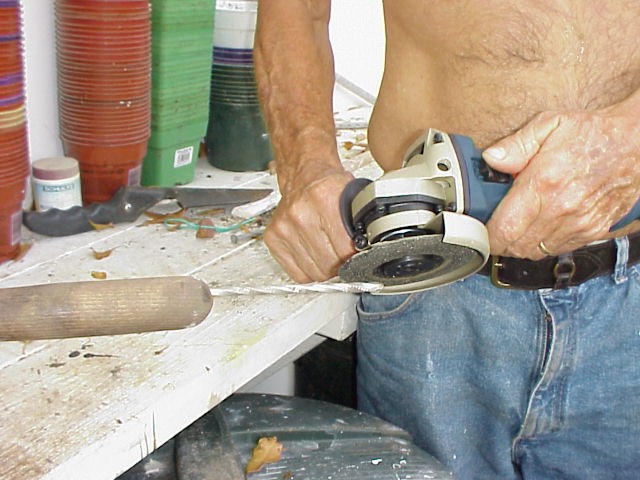
before planting. We use a grinding wheel to knock off the end two
prongs. Two prongs are more than sufficient to work the ground up
safely away from the root zone. The other end is where we drive a 6 inch
spike after drilling a hole a little bit smaller (diameter) than the spike. These
spikes are readily available at the Home Depot. I would suggest the spikes
they use for railroad ties, versus the aluminum spikes for gutters. The
Aluminum could bend in time. After driving the spike into the hole, you
take the same grinder and grind off the head. It doesn't have to be to a sharp point.
You
will note there are two ends to the tool we use and basically copied from some
of the agricultural antiques we were blessed with. We start with a simple garden
hook usually a 4 prong affair and using something like this in a garden or a
farm operation would be lethal. These hooks are usually used to break up ground
before planting. We use a grinding wheel to knock off the end two
prongs. Two prongs are more than sufficient to work the ground up
safely away from the root zone. The other end is where we drive a 6 inch
spike after drilling a hole a little bit smaller (diameter) than the spike. These
spikes are readily available at the Home Depot. I would suggest the spikes
they use for railroad ties, versus the aluminum spikes for gutters. The
Aluminum could bend in time. After driving the spike into the hole, you
take the same grinder and grind off the head. It doesn't have to be to a sharp point.
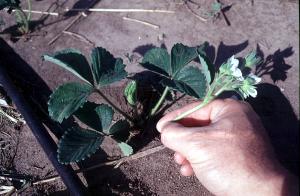
Now this spike serves as what I refer to as a delicate cultivation tool and it simply is used very close to the main stalk of the plant to break up the crust and yet not penetrate deep enough to sever the roots, known as root pruning. I now use this tool for most of my potted plants and the plants love it. I usually put a little granular fertilizer down before scratching the surface and working the fertilize in. I hold off for a day or two, let the plant enjoy some air and then I water them, followed in a couple day with a another light cultivation with the nail end. I think you can see how handy the two sided tool can be, by flipping it over as you move along. I usually scratch the ground real close first (not too deep now) and flip it over to the 2 prong hook to finish the peripheral areas.
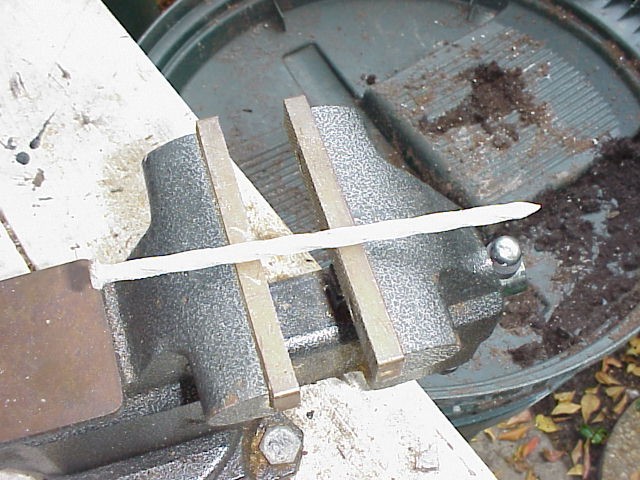
In the illustration above the 6 inch spike is on the vise and you will notice a little tool I use around my gardens just about every day and that is that garbage can cover. I will cover this below.
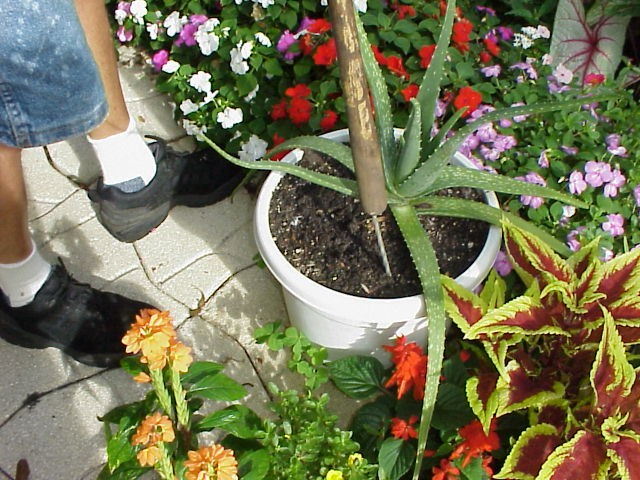
I show two cultivation operations with the nail below. One is the bare ground operation (you will notice the Aloe Vera plant that has a stake supporting it.) I use half inch Pvc pipe and spray paint them with a nice green color. The other is doing a pot. You never have to worry about Pvc rotting in the ground. Pvc makes nice scaffolding too, with the tees and elbows.

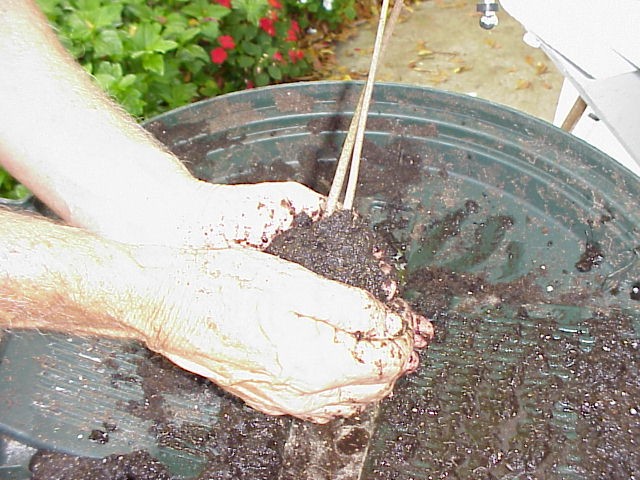
Below is our garbage can cover operation. At the left is a "Pip" from a caladium plant and resembles to some degree what a "Pup" from a AloeVera Mother Plant would look like. Transplanting one of your "Pups" would involve the same process and really gives that little guy or gal a booming start and adds to your inventory of the magical powers of Aloe Vera. Purchase bulbs from a reputable nursery is a great alternative we use a nursery for this source http://www.caladiumbulbs.com/information.htm check out their nice catalog. We like the mixed random package of 100.
Again, we favor MiracleGro potting soil in this operation, but I am sure any good potting soil would do well. One of the biggest impediments to getting plants started is air around the roots. Taking the garbage can cover and wetting the potting soil to something close to a slurry is what we accomplish here. It is important to have the hole dug in the ground or in the pot before you start this operation, as you will be using up all of your hands and will only be able to set the finished product, in the hole with the molded wet potting soil around the roots.

This information is intended to heighten awareness of potential health care alternatives and should not be considered as medical advice. See your qualified health-care professional for medical attention, advice, diagnosis, and treatments.